Are you tired of fumbling with keys and remotes to open your garage door? Say goodbye to the hassle with a smart garage door opener! This innovative technology allows you to control your garage door with just a tap on your smartphone or a voice command. All you need is a high speed internet connection! In this article, we will guide you through the simple steps for installing a smart garage door opener. Learn how you can upgrade your garage with convenience and security in just a few easy steps. Let’s dive in and transform your garage into a smart space!
Understanding the Components of a Smart Garage Door Opener
Smart garage door openers consist of several key components that work together seamlessly to provide enhanced functionality and convenience. Understanding these components is essential for a successful installation process.
Recognizing the main parts of a smart garage door opener system
- Motor: The motor is the powerhouse of the garage door opener, responsible for lifting and lowering the door. In a smart system, the motor is equipped with advanced features such as quiet operation and energy efficiency.
- Sensors: Smart garage door openers are equipped with safety sensors that detect obstacles in the door’s path, preventing accidents or damage. These sensors use infrared technology to ensure safe operation.
- Wall Console: The wall console serves as a control panel mounted inside the garage, allowing users to operate the door manually, set preferences, and access additional features of the smart opener.
- Remote Control: Smart garage door openers come with remote controls that enable users to open and close the door from a distance. These remotes may also offer additional functionalities such as scheduling and integration with smart home systems.
- Connectivity Features: A crucial component of smart garage door openers is their connectivity features, which allow users to control the door remotely via smartphone apps, voice commands, or home automation platforms. These features enhance security and convenience for users.
Differentiating between the motor, sensors, wall console, remote control, and connectivity features
- Motor vs. Sensors: While the motor powers the movement of the door, the sensors ensure safe operation by detecting obstacles and preventing accidents. Both components are essential for the smooth functioning of a smart garage door opener.
- Wall Console vs. Remote Control: The wall console is a stationary control panel installed inside the garage, providing easy access to basic functions. In contrast, the remote control allows users to operate the door from a distance, offering convenience and flexibility.
- Connectivity Features: The connectivity features of a smart garage door opener set it apart from traditional models, enabling remote operation, monitoring, and integration with smart home systems. These features enhance security and user experience significantly.
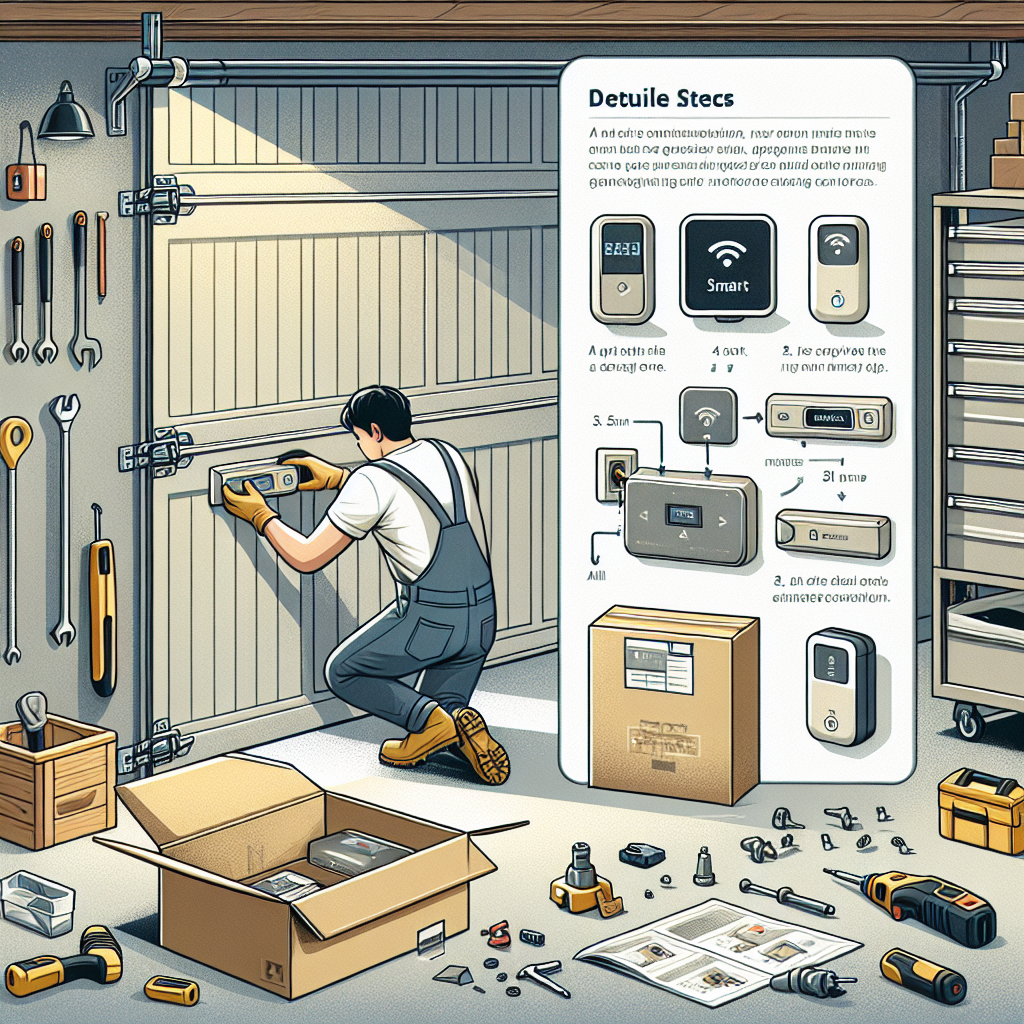
Pre-Installation Preparations
Checking Compatibility and Requirements
- Verifying if the existing garage door is compatible with a smart opener
Before beginning the installation process, it is crucial to confirm that the current garage door system is compatible with a smart opener. Smart garage door openers typically work with most standard garage doors, but it is essential to check for compatibility to avoid any issues during installation. Some smart openers may require specific types of garage doors or additional accessories for proper functioning. Refer to the manufacturer’s guidelines or consult a professional if unsure about compatibility.
- Ensuring a stable Wi-Fi connection for seamless operation
Another vital aspect to consider before installing a smart garage door opener is the strength and stability of the Wi-Fi connection in the garage area. Smart openers rely on a stable internet connection to operate effectively and allow remote access via smartphone apps or voice assistants. Weak or unreliable Wi-Fi signals can result in connectivity issues and hinder the functionality of the smart opener. Consider installing a Wi-Fi extender or booster if the signal strength is weak in the garage to ensure smooth operation of the smart garage door opener.
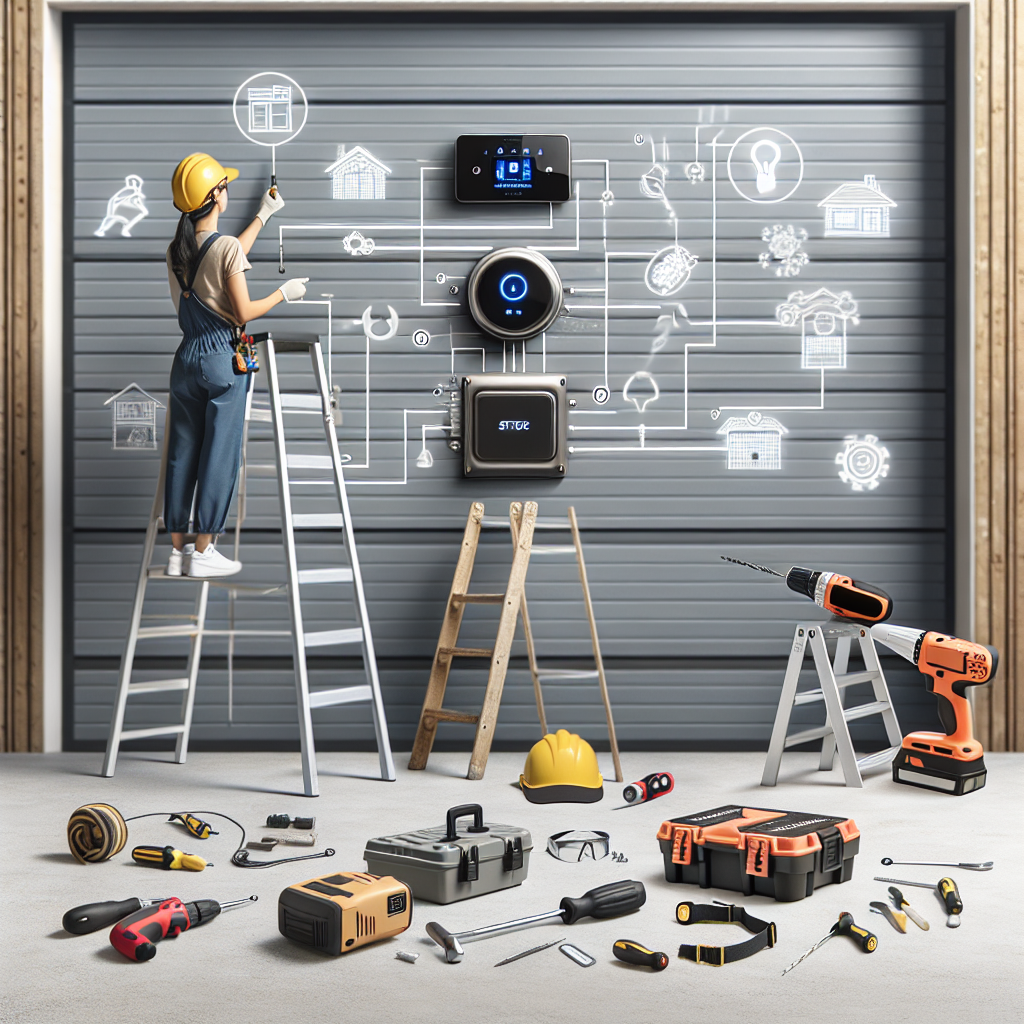
Gathering Tools and Equipment
Pre-Installation Preparations
- Compiling the necessary tools is the first crucial step before installing a smart garage door opener.
- Essential tools include a sturdy ladder, a power drill with appropriate bits, a screwdriver set, and a measuring tape.
- The ladder should be tall enough to reach the garage door opener motor unit safely.
- A power drill with the right drill bits is necessary for mounting brackets and other components securely.
- Having a set of screwdrivers, both flathead and Phillips head, ensures you can work with different types of screws during the installation process.
- A measuring tape is essential for accurate positioning and alignment of the smart garage door opener components.
- Before starting the installation, it is crucial to acquire the smart garage door opener kit that suits your garage door type and size.
- Reading the manufacturer’s instructions included in the kit is highly recommended to familiarize yourself with the specific steps and requirements for installing the smart garage door opener.
Installation Process
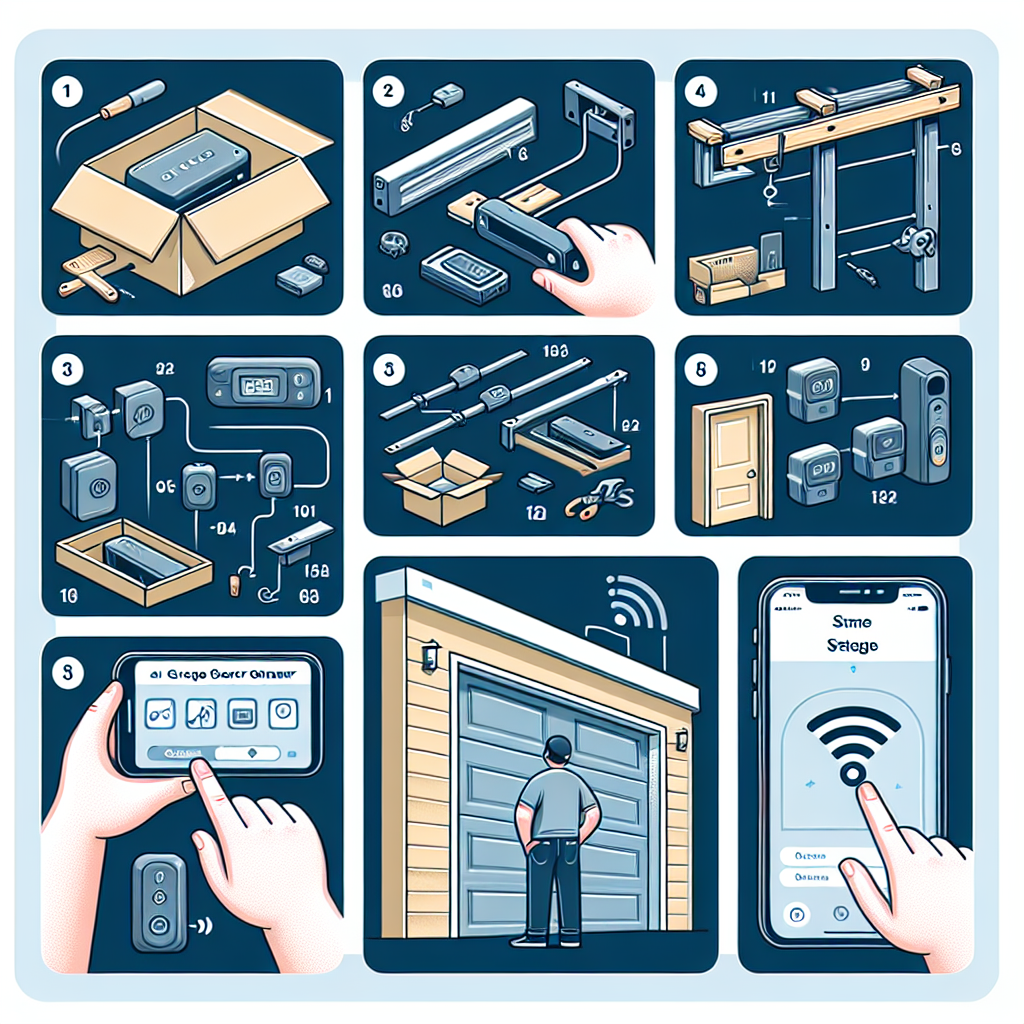
Mounting the Opener Unit
To begin the installation process of a smart garage door opener, the first step involves mounting the opener unit in the designated location. This is a crucial step to ensure proper functionality and efficiency of the system. Here are the detailed steps to mount the opener unit securely:
- Positioning the opener on the ceiling of the garage: Locate the ideal spot on the ceiling of the garage where the opener unit will be installed. Ensure that the chosen location allows for easy access to the garage door and is within reach of a power source. Positioning the opener centrally can provide optimal coverage for the garage door.
- Securing the opener using appropriate mounting hardware: Once the ideal location is determined, use the provided mounting hardware to secure the opener unit in place. Follow the manufacturer’s instructions carefully to ensure the opener is securely attached to the ceiling. It is essential to use the recommended screws and brackets to prevent any instability or potential safety hazards. Double-check the alignment of the opener unit to guarantee it is level and properly positioned before moving on to the next installation steps.
Installing the Door Sensors
To begin the installation process of the smart garage door opener, the first crucial step involves properly installing the door sensors. This is essential for ensuring the accurate and seamless functioning of the smart system. Here are the detailed steps to install the door sensors:
- Attaching the sensors to the sides of the garage door: Start by identifying the appropriate locations on each side of the garage door where the sensors will be mounted. Ensure that the sensors are placed at a suitable height and are securely attached to the walls using the provided mounting brackets.
- Aligning the sensors properly: Once the sensors are attached, it is vital to align them correctly to guarantee optimal performance. Use a level to ensure that both sensors are perfectly aligned with each other. This alignment is crucial for the sensors to effectively communicate and detect any obstructions in the door’s path.
- Testing the sensor alignment: After installing and aligning the sensors, it is recommended to conduct a test to verify their proper functioning. Activate the smart garage door opener and observe if the sensors detect each other’s signals. If the sensors are aligned correctly, they should communicate without any issues, indicating that the installation was successful.
By following these precise steps for installing the door sensors of the smart garage door opener, you can ensure that the system operates efficiently and provides enhanced security and convenience for your garage.
Connecting to Power Source
To start the installation process of a smart garage door opener, the first step involves connecting the device to a power source. This is a critical step that ensures the proper functioning of the opener. Here are the detailed steps for connecting the smart garage door opener to a power source:
- Wiring the Opener to the Electrical Outlet: Begin by locating a nearby electrical outlet where the smart garage door opener can be powered. Use the provided power cord to connect the opener to the outlet. Make sure to follow the manufacturer’s instructions regarding the specific wiring requirements to avoid any electrical issues.
- Testing the Power Connection: Once the opener is wired to the electrical outlet, it is essential to test the power connection before proceeding further with the installation. This can be done by plugging in the opener and checking if it powers on successfully. Testing the power connection ensures that the opener is receiving the necessary electricity to function correctly. If any issues are detected during the testing phase, it is crucial to address them before continuing with the installation process.
Setting Up Connectivity
- Syncing the smart garage door opener with the designated mobile app
To begin the connectivity setup process, ensure that the smart garage door opener is powered on and in pairing mode. Open the designated mobile app on your smartphone and navigate to the section for adding a new device. Follow the on-screen instructions to sync the garage door opener with the app. This usually involves pressing a specific button on the opener to initiate the pairing process. Once the devices are successfully synced, you will be able to control the garage door opener remotely through the app. - Configuring the Wi-Fi settings for remote access and control
After syncing the garage door opener with the mobile app, the next step is to configure the Wi-Fi settings for remote access and control. Access the settings menu within the app and locate the Wi-Fi setup option. Select your home Wi-Fi network from the list of available networks and enter the password to establish a connection. Once the garage door opener is connected to your Wi-Fi network, you can operate it from anywhere using the app on your smartphone. This enables you to open or close the garage door remotely, monitor its status, and receive alerts and notifications on your mobile device.
Testing and Calibration
Activating the Opener
- Testing the opener using the wall console and remote control:
- Before proceeding with the installation, it is crucial to test the smart garage door opener using both the wall console and the remote control. This step ensures that the opener is functioning correctly before it is connected to the garage door mechanism.
- Begin by pressing the designated buttons on the wall console to activate the opener. Listen for any unusual noises or vibrations that could indicate a problem with the motor or the gears.
- Next, use the remote control to open and close the garage door from a distance. Make sure that the door responds promptly to the commands and moves smoothly along the tracks without any obstructions.
- Observing the door’s movement for any irregularities:
- While testing the opener, pay close attention to the movement of the garage door for any irregularities. Watch out for jerky motions, uneven lifting or lowering, or delays in response to the commands.
- If you notice any unusual behavior during the activation process, it is essential to address these issues before proceeding with the installation. This could involve troubleshooting the opener, checking the alignment of the garage door tracks, or adjusting the tension of the springs for smoother operation.
Adjusting Settings
Fine-tuning the opening and closing limits of the garage door is a crucial step in ensuring the proper functionality of the smart garage door opener. This process involves adjusting the settings to ensure that the door opens and closes smoothly without any obstructions or issues. By carefully calibrating the opening and closing limits, you can prevent the door from closing too forcefully or opening too quickly, which could potentially cause damage to the door or surrounding objects.
When programming additional features like automatic closing and scheduling, it is essential to follow the manufacturer’s instructions carefully. Automatic closing allows the garage door to close automatically after a set period, providing added convenience and security. Scheduling features enable you to program specific times for the door to open or close, allowing you to customize the operation of the garage door opener to suit your needs and lifestyle. By adjusting these settings correctly, you can maximize the efficiency and functionality of your smart garage door opener.
Troubleshooting and Maintenance
Addressing Common Issues
- Troubleshooting connectivity problems or sensor malfunctions
When faced with connectivity issues or sensor malfunctions, the first step is to check the power source of the smart garage door opener. Ensure that it is properly plugged in and receiving power. Next, examine the Wi-Fi connection to verify that it is stable and within range. If connectivity issues persist, consider resetting the opener and reconfiguring the settings. For sensor malfunctions, inspect the sensors to ensure they are aligned correctly and free from any obstructions. Clean the sensors and remove any debris that may be causing interference.
- Checking for firmware updates to enhance performance
To optimize the performance of the smart garage door opener, regularly check for firmware updates provided by the manufacturer. These updates often include bug fixes, security patches, and improvements in functionality. To check for updates, access the manufacturer’s website or the mobile app associated with the opener. Follow the instructions to download and install the latest firmware version. Updating the firmware can address compatibility issues, enhance security features, and ensure smooth operation of the smart garage door opener.
Regular Maintenance Practices
Regular maintenance of your smart garage door opener is essential to ensure its longevity and proper functionality. By following these maintenance practices, you can prevent unnecessary wear and tear on the system and avoid potential malfunctions. Below are some key steps for maintaining your smart garage door opener:
- Lubricating moving parts to prevent wear and tear: One crucial maintenance practice is to regularly lubricate the moving parts of your smart garage door opener. This includes hinges, rollers, tracks, and springs. By applying lubricant to these components, you can reduce friction and prevent premature wear and tear, ensuring smooth operation of the door.
- Inspecting the sensors and cables for any signs of damage: Another important maintenance task is to regularly inspect the sensors and cables of your smart garage door opener for any signs of damage. Check the sensor alignment to ensure they are properly detecting obstacles in the door’s path. Additionally, examine the cables for fraying or wear, as damaged cables can lead to safety hazards and operational issues.
By incorporating these regular maintenance practices into your routine, you can prolong the lifespan of your smart garage door opener and minimize the risk of unexpected malfunctions. Remember that proper maintenance is key to keeping your smart garage door opener operating smoothly and efficiently.
FAQs: Steps for Installing a Smart Garage Door Opener
What tools are needed to install a smart garage door opener?
To install a smart garage door opener, you will typically need tools such as a screwdriver, a drill, a level, pliers, and a ladder. It is also important to read the manufacturer’s instructions to ensure you have all the necessary tools and materials.
How do I prepare my garage for installing a smart garage door opener?
Before installing a smart garage door opener, it is important to clear out any clutter in the garage to create a safe and unobstructed work area. You should also disconnect the power to the garage door opener and ensure that the ceiling is strong enough to support the weight of the new opener.
What are the steps for installing a smart garage door opener?
The first step is to assemble the opener according to the manufacturer’s instructions. Next, mount the opener to the ceiling of the garage using the appropriate hardware. Then, install the rail and connect it to the garage door. Finally, program the smart features of the opener and test the system to ensure it is working properly.
How long does it take to install a smart garage door opener?
The time it takes to install a smart garage door opener can vary depending on your level of experience and the complexity of the installation. On average, installation can take anywhere from 2 to 4 hours to complete. It is important to take your time and follow the manufacturer’s instructions carefully to ensure the opener is installed correctly.
Do I need professional help to install a smart garage door opener?
While some homeowners may feel confident in installing a smart garage door opener themselves, others may prefer to hire a professional installer to ensure the job is done correctly. If you are unsure of your abilities or if you encounter any difficulties during the installation process, it is always best to seek help from a professional.